"In photography there are no shadows that cannot be illuminated."
~ August Sander
 |
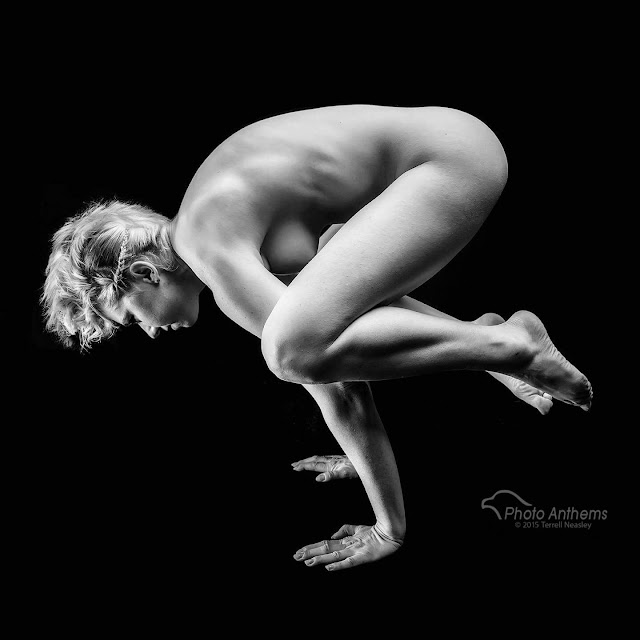
Art Model, @Kayci.Lee, ©2015 Terrell Neasley
Studio Flash, Paul C. Buff Einstein 640 with 6' Octobox |
In many of my posts, I mentioned one way to expand your efforts to get excited about photo again was to start using flash in your work. Now, granted... this post won't be necessarily for everybody. Some of you togs already have a great grip on this thing and it's not your weakness by any stretch of the imagination. If that's the case, then just enjoy the pictures. However, if you do NOT have an acute aptitude for artificial light, namely flash lighting kits, then let's start small and follow me a little ways down the rabbit hole. Just bare in mind, this is not a comprehensive blog post on flash. There is too much to get into for a few paragraphs. For now, let it lead you to further research, but if you have questions, pop them into the comments.
 |
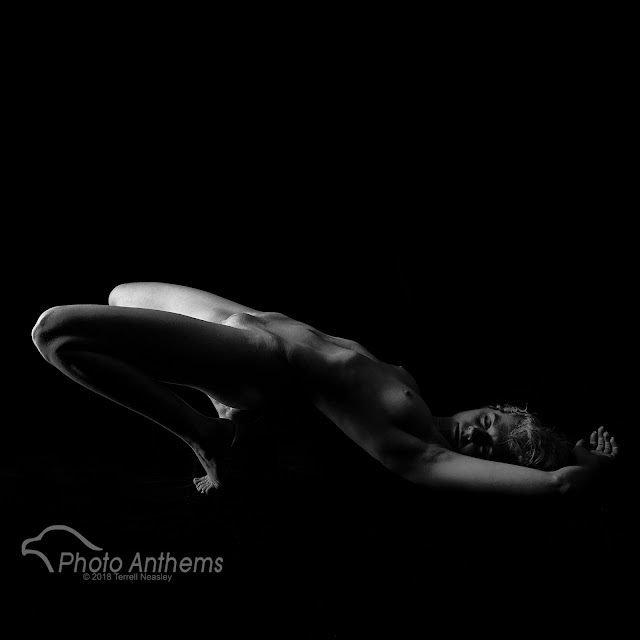
Art Model, @Kayci.Lee, ©2015 Terrell Neasley
Studio Flash, Paul C. Buff Einstein 640 with 6' Strip Box
|
First things first. Can't be scared of light! As I have said before, most photog won't use it cuz they're scared of it. Ignorance of a thing is not a reason to fear a thing. Also, light is cheap. Yes, you can go pick up the high end flash units by Sony, Nikon, or Canon and pay skyward of $600 for a speedlight flash gun. If that is not a problem for you, then by all means, go for it. It will serve you well. If you need to start out on a budget, consider finding used gear like the Canon 430EX II or the Nikon SB-700 for your run and gun, on the go needs. I STILL use the Canon 430EX II that I bought used, even though I shoot Sony! I never shoot with the flash sitting on the camera, preferring instead to use flash triggers like I will point out in a minute. I have to travel small and make due with as little gear as I can get away with while I am traveling. You can find used these flashes give you lots of latitude and features that eliminate most every possible excuse you may have. You won't outgrow them and they will probably wear out from use long before they become obsolete.
There are also more options available to you. First, you can rent for a weekend for $20 bucks. Second, you can go off-brand with several makers. Check out Godox brands that have speedlight flash units for $100 to $200. You can pick these up for your specific camera brand, such as a Godox VING V860IIC which is one version made specifically for shooting TTL for Canon cameras (Notice the "C" at the end of the model name). TTL means Through The Lens, but for now just think of it as automatic mode. If your camera is in automatic AND you have it ON the camera, it communicates with the camera and sets the flash power for you. However, I strongly advise to learn manual control and practice shooting OFF-CAMERA! Be sure to get the version that is made for your camera brand.
 |
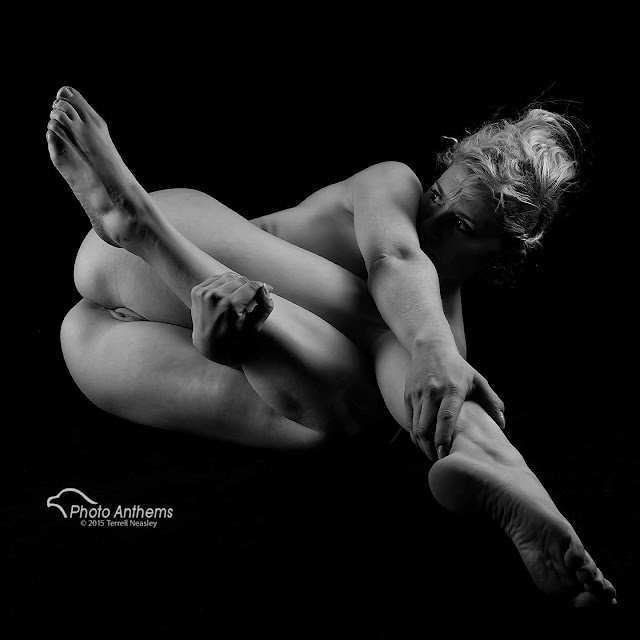
Art Model, @Kayci.Lee, ©2015 Terrell Neasley
Studio Flash, Paul C. Buff Einstein 640 with 6' Octobox
|
And if you want to shoot with the flash OFF the camera, take a look at the wireless transmitter/receiver systems. It uses a radio signal that isn't so easily obstructed by a wall, for instance, if your flash sits around the corner. Easy-Peasy! This gives you the ability place your flash unit anywhere you need it besides just sitting on top of the camera. Pick up a light stand or clamps for something to mount the flash on. I'll also add in there to pick up an umbrella holder so the flash can be mounted on something that can allow it to bend and point in any direction.
On another quick note, studio light kits are the best! I shoot with them more than speedlights when I am not traveling. These kits usually come with a two light set-up and will often include some type of modifier... possibly an umbrella or softbox. I implore you to take a look at them if they suit what you do.
"Essentially what photography is is life lit up."
~ Sam Abell
I could throw in one more accessory, which is a flash diffuser of some kind. Is it necessary? Yeah, kinda. I don't really use a flash without something diffusing the light a bit, but I've seen plenty. It's kind of like a saddle on a horse. You don't HAVE to use one, but if you don't, it's gonna be a hard ride. Okay, screw it... pick up an umbrella while you're at the camera shop. Now, back to my main thing. For about $200 you can practice and get a better grip on flash and really step up your work. Flash is cool because it's lightweight and portable. All you need is some double-A's and you're off and running. Keep in mind. Flash isn't just used for night time shots! The question I get most often is, "Why would you use flash during the day?" Simple... Cuz the sun can make harsh shadows. Using flash as some fill light is an excellent solution. Now your model doesn't have to squint because the sun is in her/his eyes. And you can face the model away from the sun without their faces going into shadow. Oh yeah. Try exposing for that beautiful sunset AND your model without using flash and you'd better be good at composite work. Flash isn't just for studio. I take it with me just about everywhere.
 |
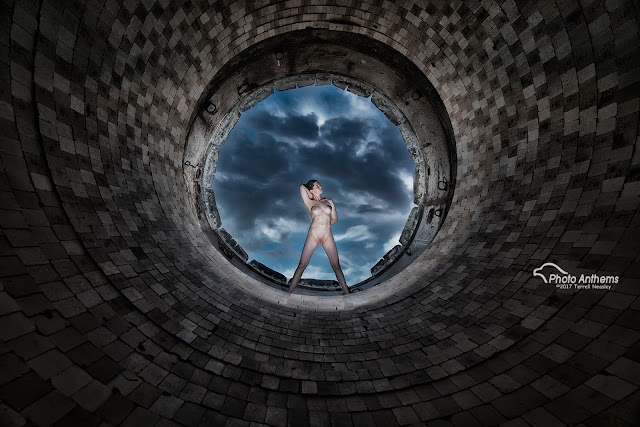
Art Model, @Kayci.Lee, ©2017 Terrell Neasley
Outdoor using Speedlight flash units with radio triggers |
Do yourself a huge favor and just run through the manual. It may look thick but that's just cuz it's also in several different languages. Know how to turn it on and set power levels for starters and then go shoot. I'm not often shooting at 1/1, which is the full power setting. I'm usually at 1/8th power or below. Set the flash up about 45 degrees left or right of your subject. Now chances are, you'll have to manually adjust the power settings, but even with that, once you get it within a tolerable range, you can adjust your aperture to control the flash. Big Tip: Shutter Speed controls ambient/constant light (daylight or lighting that stays on). Aperture controls Flash. Opening up the aperture increases the flash's intensity, while closing down does the opposite. So within a certain range of exposure, you can use the aperture settings (shooting in Manual or Aperture Priority Mode) to control the flash output.
Play with this in varying degrees of light as well in different locations. Try out some studio light kits! Add on a softbox with it. Add in more lights... such as one mounted BEHIND the subject! Trust me. It will bring the fun back. If you're going to be in the Las Vegas area, check out B&C Camera at 4511 West Sahara, open every day from 9 am to 7 pm, except for Sunday hours which are 11 am to 5:30 pm. I used to work there. It's a beautiful store with lots of knowledgeable people who can get you fixed up. Tell them I said hello for me!
 |
Art Model, @Kayci.Lee, ©2015 Terrell Neasley
Studio Flash, Paul C. Buff Einstein 640 with 6' Octobox
|


